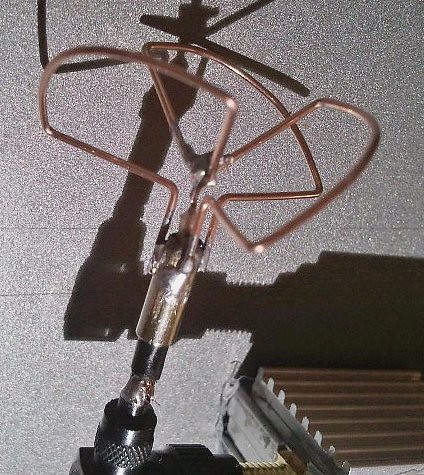
So, here's my crack at the antenna.
Impressions? I sat down kinda looking forward to doing it. A bit of relaxation while working. An hour and a half later sporting punctured fingers and croocked eyes I think I don't like these antennas so much... Good new is that if you work slowly and take care you stand a good chance of going crazy but producing a decent antenna.
Steps to build:
1) Go buy 0.8mm copper clad welding wire.
2) Release end from hole of reel.
3) Spend the next 20 minutes reeling back the uncoiled wire and cursing.
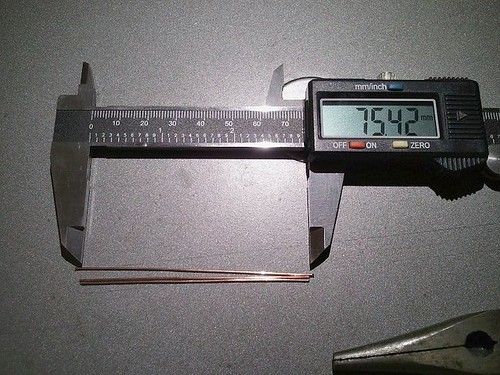
4) Cut 3 lengths of wire. They should be somewhat longer than 1 wave length (wl). Since I'm using 5.8Ghz, 1 wl = 52.6mm. I therefore cut 3 pieces that are 75mm long:
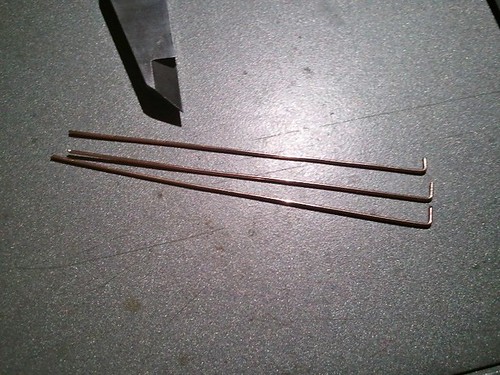
5) Bend 3mm off the end - this will be used to "hook" the 3 wires together at the end.
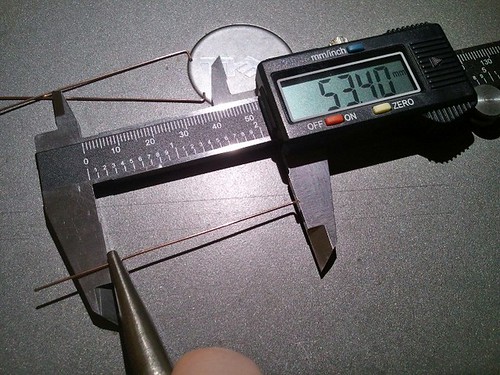
6) Measure 1 wl and add the wire's thickness.
1 wl = 52.6
1 th = 0.8
Bend at wl + th => 53.4mm
7) It should look like this:

(If it doesn't then give up and go do needle point. It get's harder!)
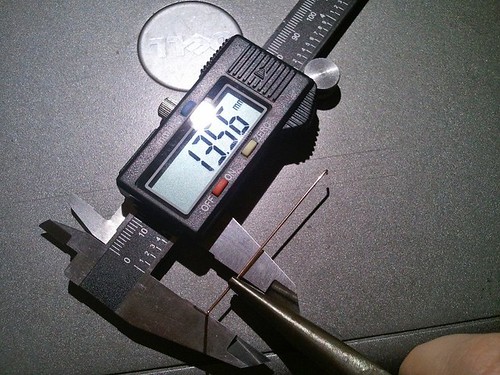
8) Measure out 1/4 wl (and add 1/2 th) -> 13.55 Bend again.
9) It should look like this:
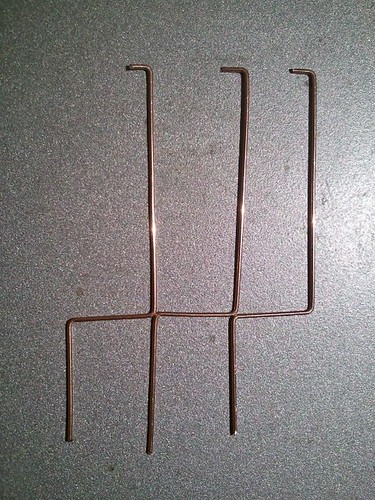
10) And like this after another bend:
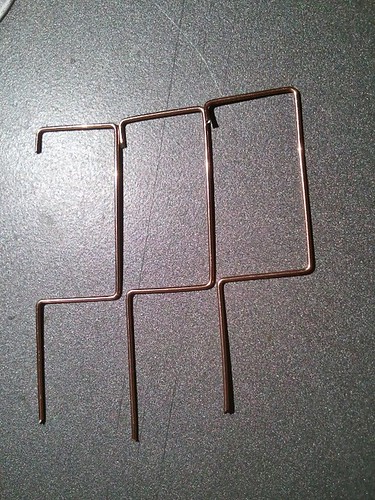
11) Still having fun? Doing well? Don't worry, here's your chance to screw it up! Bend the middle piece so the two 1/4 lengths almost touch. Try to keep the angle of bend of th 1/4 lengths at 90 degrees. Sounds easy, no? Well, no. It really isn't easy to do properly and I think this is the first major pitfall.

12) Still with us? Good. You'll make a good masochist. Now hold the base carefully with pliers and bend at 45 degrees. It really doesn't matter at what direction you bend as long as both the tx and rx antennae will be at the same direction. Trying to be clever I went for left hand polarization only to end up with right hand. Go figure.

13) Here's a nice easy step for all you superstitious people. Take off the antenna's plastic cover. Easy. I do good destruction. I'm an engineer!
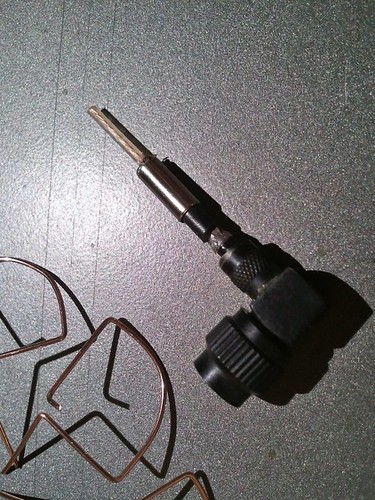
14) Get out your "helping hands". No, not your wife, this gets hot. Ok, scratch that, you need it to be steady. Screw the antenna into the tx and tape it down. Hold one "petal" to the antenna and solder it into place. You can just "tack" it into place as once the top part is soldered it won't fall apart.

15) Hook the top parts together around the stripped antenna wire (you did remember to strip the insulation, right?)
Once it's stuck together well you can fine tune the shape.
Made it up to here? Good for you. Now you need to do it all over again (4 leaves this time) for the rx.
Who said this is a fun hobby?


